

 Português
 Español
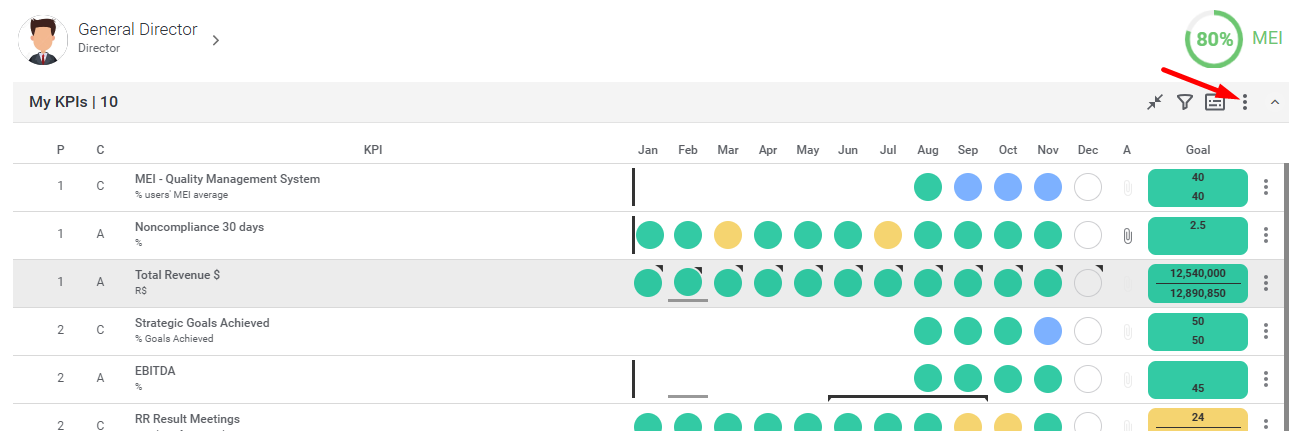
To create a new indicator is very simple, on the main Dashboard, just click on the three dots icon to open the menu. Then click on Add Control Items.

The system will open the window for creating the new item.

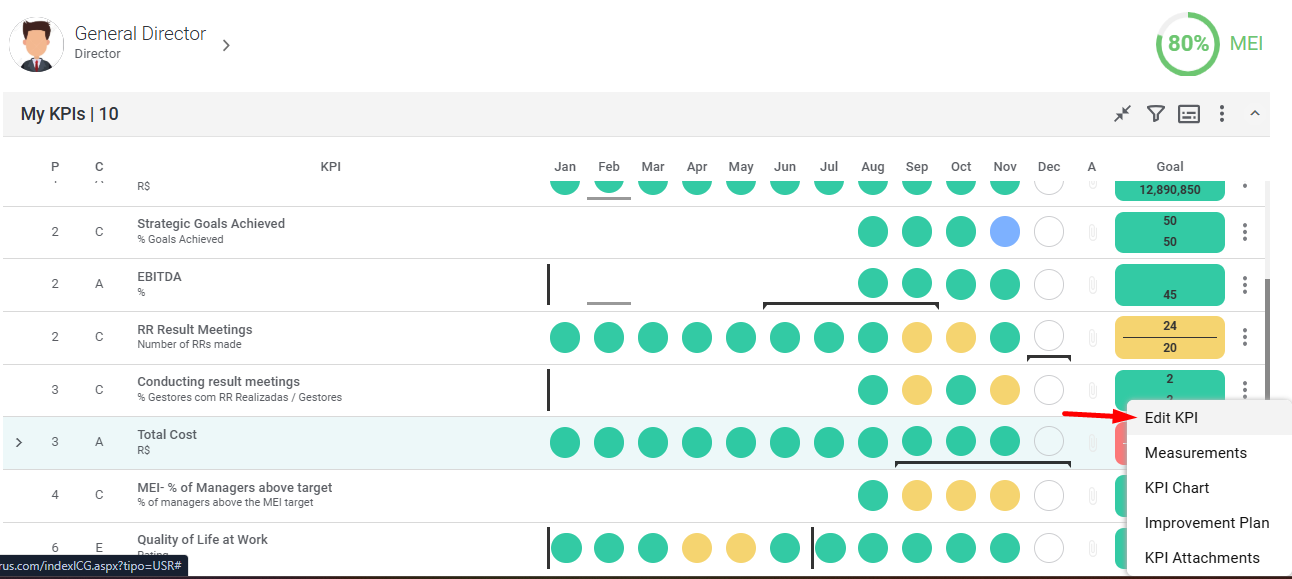
If you already have items registered, you can create other items by clicking New as below:

You will then see a screen like this:

Next, understand the fields:
- Code: Unique number of the control item, created automatically when it is registered.
- Item: Name of the control item.
- Indicator: Unit of measurement used to measure the item.
- Customer: Who is the main stakeholder for the results of your control item.
To learn more, visit the article Customer C.E.V.A.. - Good for: Indicates the sense of your item. It can be good for MORE (+), for Fewer (-) or for EQUAL (=).
- Chronic Red: Number of months outside the range to be considered chronic red.
To learn more, visit the article What is Chronic Red?. - Priority: Value that defines the ordering of your control items on the dashboard.
- Decimal places: The number of places after the comma that will be considered in the item values.
- Coefficient: Value by which the item values will be multiplied. The system default is 1.
- Auxiliary: Registers the item as an Auxiliary.
To learn more, visit the article Auxiliary Control Items. - Benchmark: Reference value for comparison with your Control Item. This data will be displayed in the item’s chart.
- Auxiliary Fields: Custom fields of the item previously configured by the Client Administrator.
- Description: The field is used to describe formulas, links, information, data sources, etc., that the KPI will have**.
**IMPORTANT:
The item description has a character limit of 2000. If this limit is exceeded, the system will block the “save” button for KPI edits.