
 Português
 Español
In this article we will explain the Action Plan screen. We will explain the functionality of each menu button and some visualization tips.
If you have the permission “Actions Delegations to Yourself and Direct Reports“, you can only delegate actions to your reports or yourself.
In this article we will see:
- Buttons to register a plan
- Menu
- Viewing Tips
Buttons to Register a Plan
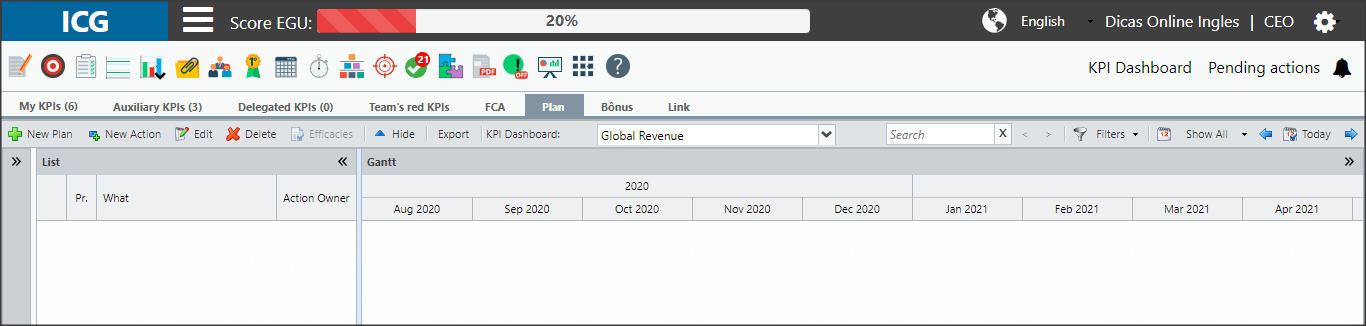
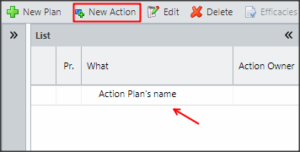
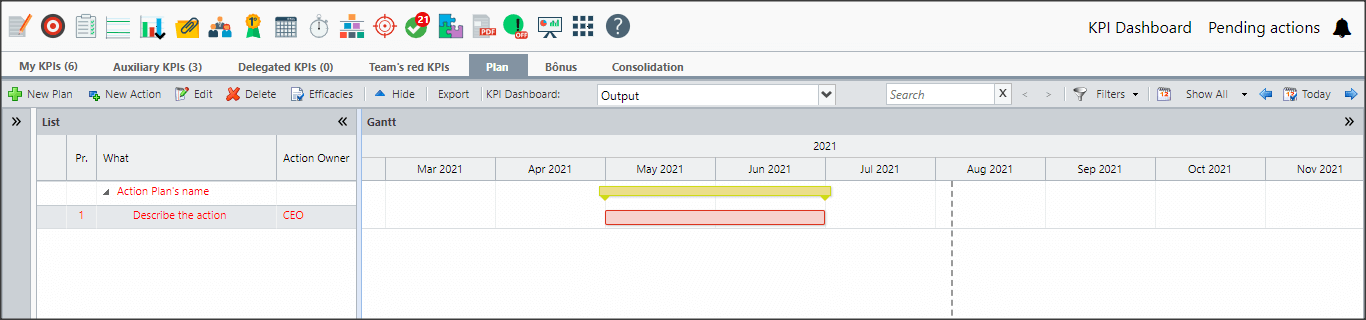
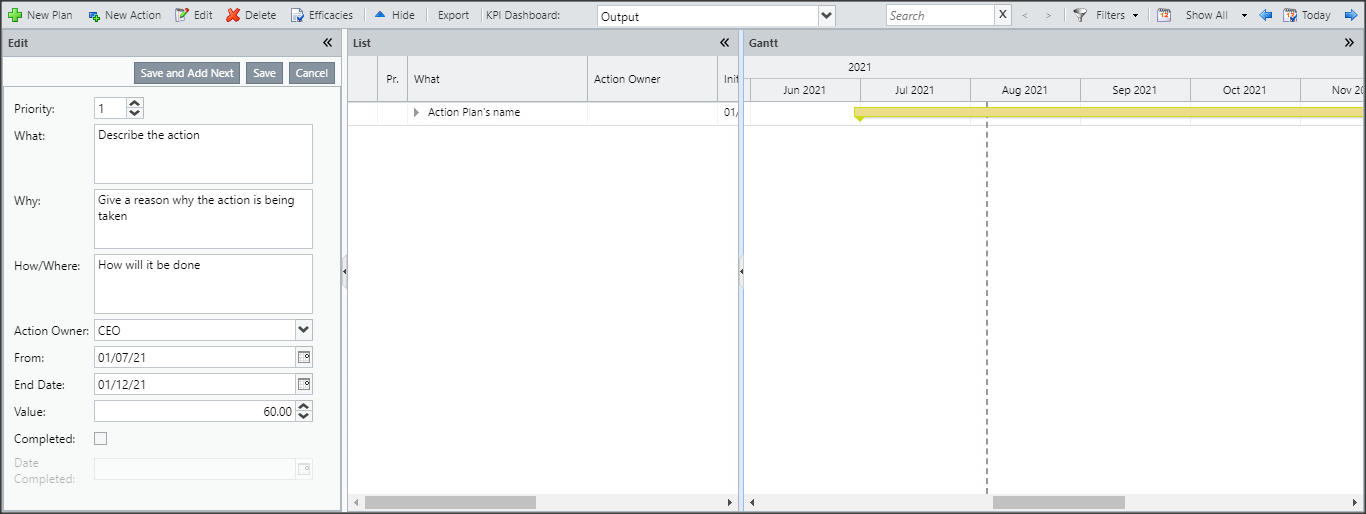
When you click on the Action Plan tab, you will see the following screen:
In the sequence, we will explain the buttons to register a plan and actions.
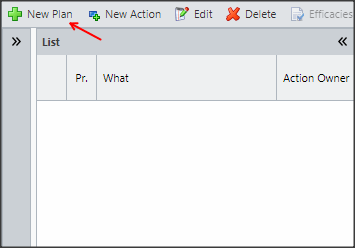
To create a Plan, click New Plan.
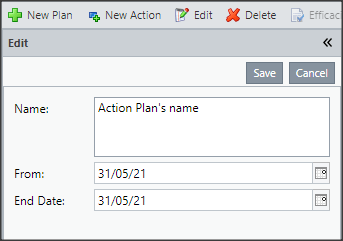
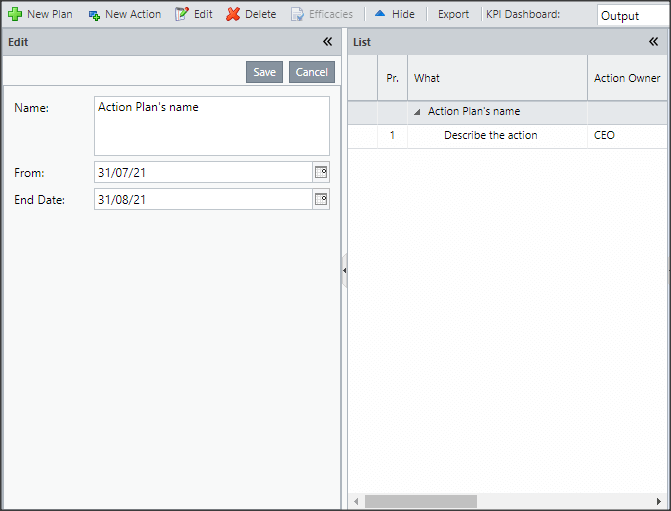
Type the name of the plan and the duration. After, click on Save.
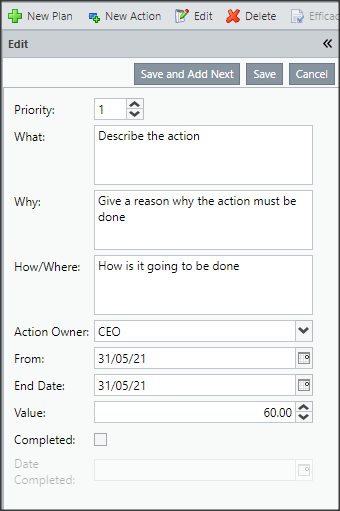
To register actions in your plan, click on the desired plan and click New Action. Remembering that if you have the “Delegate Action for Yourself and Direct Subordinates” permission, just add yourself or your subordinates in the “Who” field.
Fill in the fields and click Save.
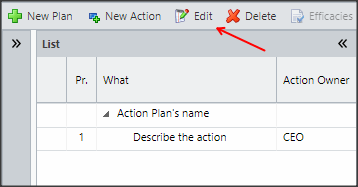
At any time, you can edit an action or plan. When an action is complete, click on the desired action and click the Edit button.
Check the Completed option and enter the Completion Date. Don’t forget to Save.
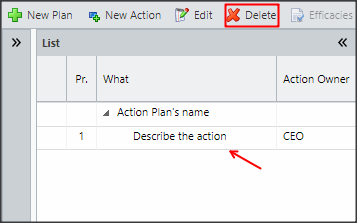
You also can remove an action or a plan. To do this, select the desired plan or action and click Delete.
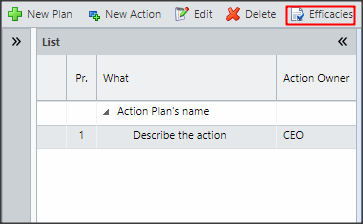
You will be able to create efficiencies for your actions.
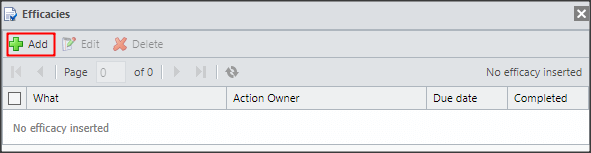
Click Add.
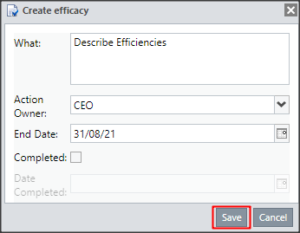
Fill in the fields and click Save.
The effectiveness will be listed for each action.
You can edit or delete an effectiveness. Select the desired effectiveness and use the buttons indicated below:

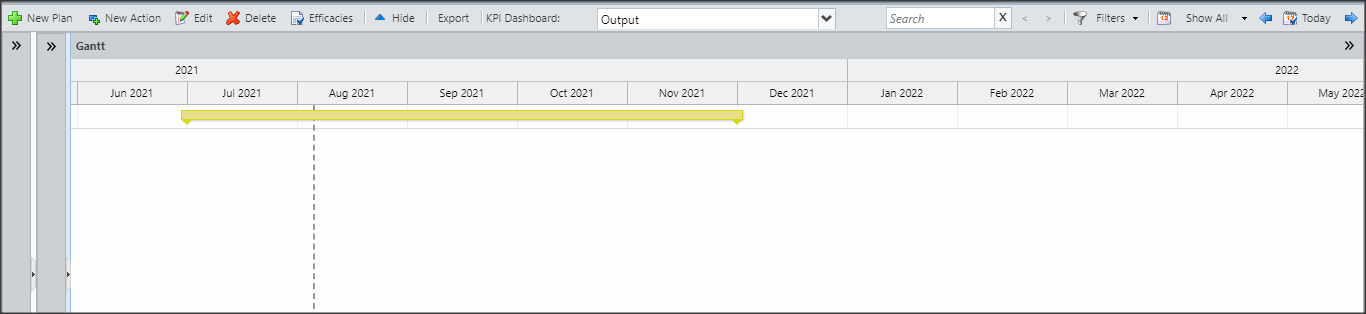
After registering all the actions you will see the following screen:

Expired shares will be red in the list and if there is at least one expired share, the plan will be red as well.
See below what the colors of the actions mean:
Menu
In addition to the buttons mentioned above, there are still other buttons that can help you.

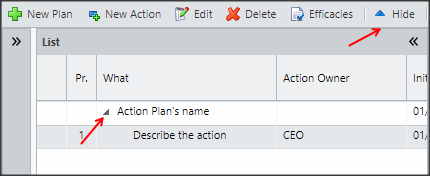
The Hide button will leave only the name of the plan visible.
You can use the arrow next to the plan’s name or use the Hide button. The difference is that if you have more than one plan registered, with the Hide button, all plans will be retracted, using the arrow, only that plan will be collected.
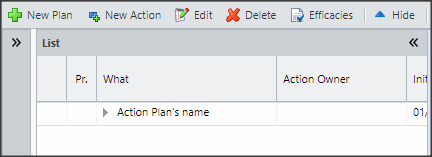
You will only see the name of the plans.
To expand, just click on the arrow next to the plan name.
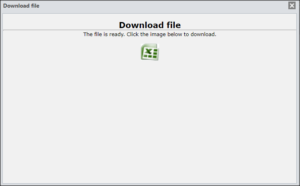
You will be able to export your Action Plan. Click Export.

Click on the excel icon to download.
In the file you will have the following information:
- KPI Name
- Name of Action Plans
- Start and end dates of both the plan and the actions
- Priority, What, Why, How of each action
- The user responsible for the action
- Duration of plans and actions
- The value of each action
- The Status of plans and actions, whether they are in progress or completed
- The completion date of the actions
- The Action Accepted Status
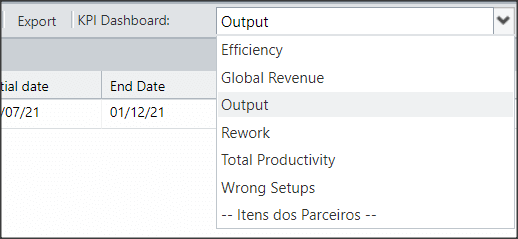
You will be able to navigate between your KPIs, without having to go back to the initial dashboard to open another KPI’s plan. Just select the KPI you need.
You can search for an action or plan by typing a word in the search field.

The buttons on the right will make it easier for you to view the Action Plan.
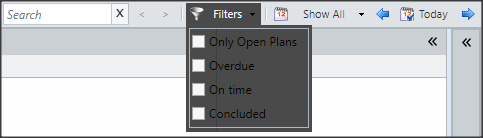
You will be able to select which plans and actions you want to view. If no filter is applied, the ICG will show you all the registered actions.
You can choose to view only open plans and hide plans that have already been completed. Or even select only the actions that are past due, due to be expired, or just the completed actions.
You can configure the month display in Gantt.
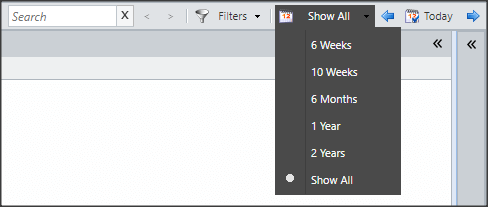
With the arrows you can move forward or backward in the months of Gantt.
![]()
Viewing Tips
On the Action Plan screen there are three viewing windows: Edit, List and Gantt.
By default, the Edit window is hidden. To view, just click on the arrow indicated below:
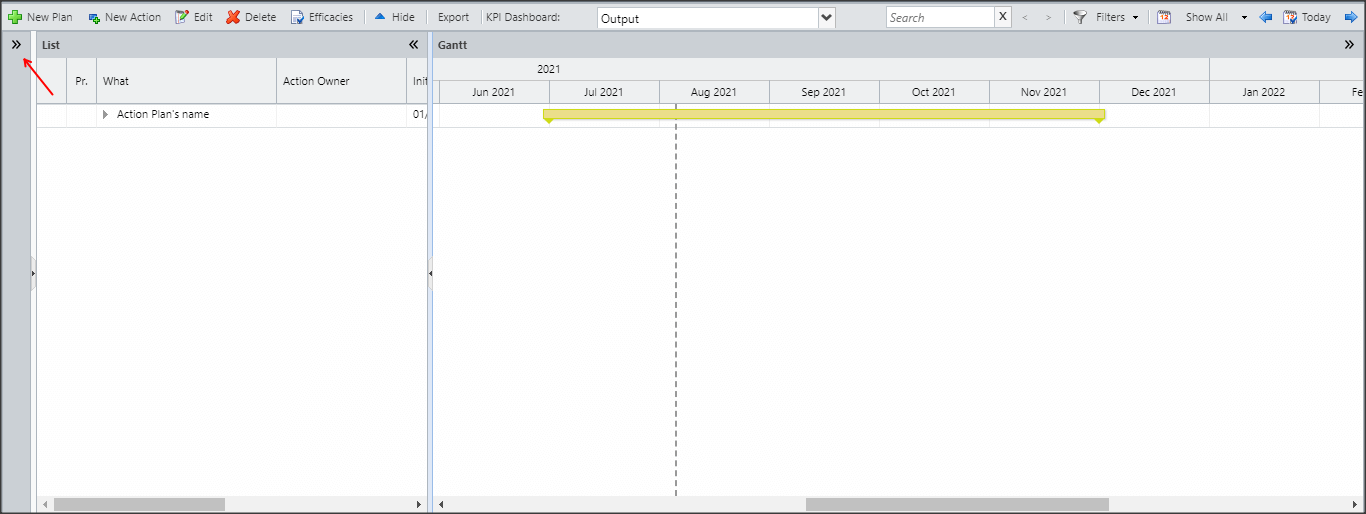
By default, the Edit window is hidden. To view, just click on the arrow indicated below:

- View with hidden list

- Visualization with hidden Gantt